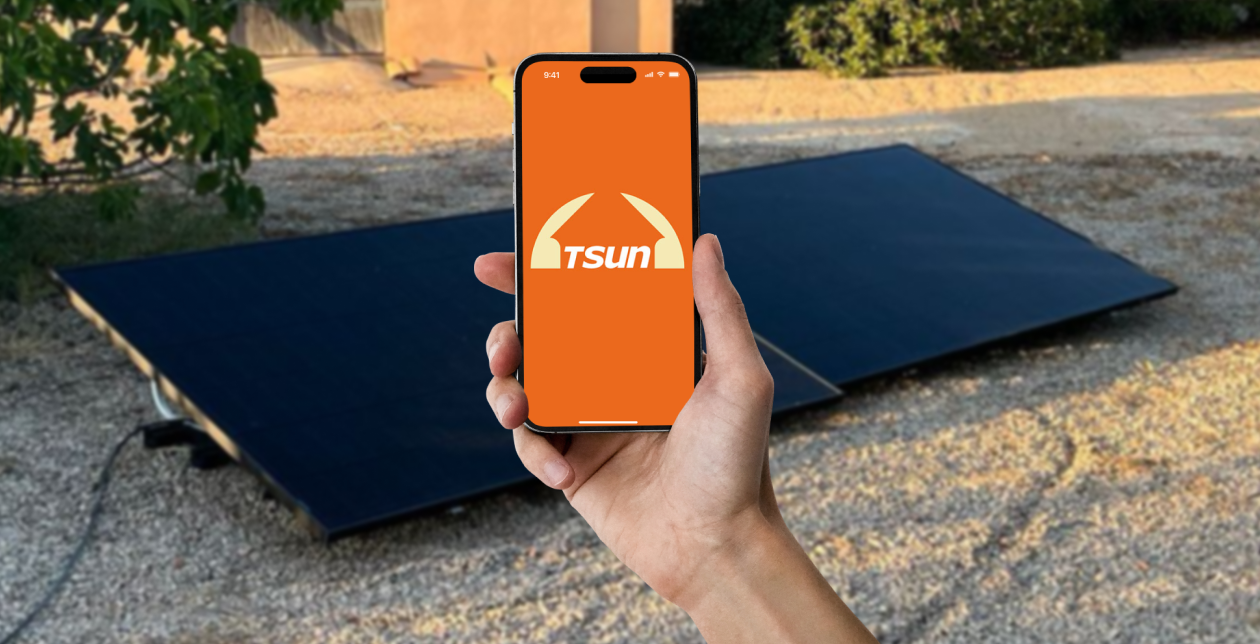
Make full use of your Tsun micro inverter app - Complete guide and self checklist
Your plugin solar kit generates solar energy for you every day. Using Tsun micro inverters, you also have the advantage compared to other brands that you can connect it directly to your home WiFi, and track production in real time. In this blog, we will guide you through the steps to set up and configure your Tsun Talent Home app, and have all information on your plugin solar kit’s production always at your fingertips. Check this complete guide also for troubleshooting.
You can watch the video or read the full guide below.
Install & Login
- Download the Tsun Talent Home from iOS App Store or Play Store.
- We have created an account for you after your purchase. All you need to do is to enter the same email address that you used for purchase and input the default password 123456.
- Accept the User Agreement and Privacy Policy.
- Click “Confirm” and login.
Add the micro inverter
- Tap “Device List”, then “Add Device”. Scan the QR code or type in the serial number (SN) of the micro inverter. They can be found on the box of the micro inverter or on the micro inverter itself. Make sure you scan the QR code (not the barcode).
- It will show “Device Add Successful” if successfully added.
We configured the data from our end after your purchase. But in case you accidentally deleted your plant, below are the instructions on how to add it again.
- Tap “No Plant”. Enter plant name.
- Tap the pin icon and select your precise location.
- Enter your total solar panel capacity. (For example, if you have 2 solar panels of 450 Wp each, add 0,9 kW)
- Enter your total cost, that you will find on your invoice or order confirmation. This enables the app to calculate your earnback time.
- Choose your installation date.
- Click on “+” to take a photo or add a photo of your plugin solar kit installation.
- Click “Confirm”.
Connect the network
- Open the Bluetooth and location authorization on your phone.
- Connect to your 2,4 Ghz network.
- Check if the WiFi signal strength of the installation location has at least 2 bars shown in the icon.
- Tap “Config Network”.
- Choose your network and enter its password. Make sure that your WiFi name and password contains only numbers and letters. No special characters are accepted.
- Tap “Start Config”.
- Wait until a tick shows up. Tap “Confirm”. The data will show up in a few minutes.
The LED light on the micro inverter will help you identify possible problems during connection. The LED can be green or red, blinking or stable. Only the stable green light means that the micro inverter is working properly.
A green blinking light appears if:
- You are in the process of connecting the micro inverter/ configuring the network.
- The cable connecting the solar panels to the micro inverter is not plugged in properly.
A red blinking light appears if:
- The grid is not stable, in case of grid loss or grid abnormality.
A red steady-on light appears if:
- There’s something wrong with your micro inverter (hardware fault).
- GFDI (ground fault detector interrupter) issue: Simply put, the electricity is going somewhere it should not be so the GFDI cuts off the power to ensure safety.
Red and green blinking lights appear when the micro inverter needs a software upgrade.
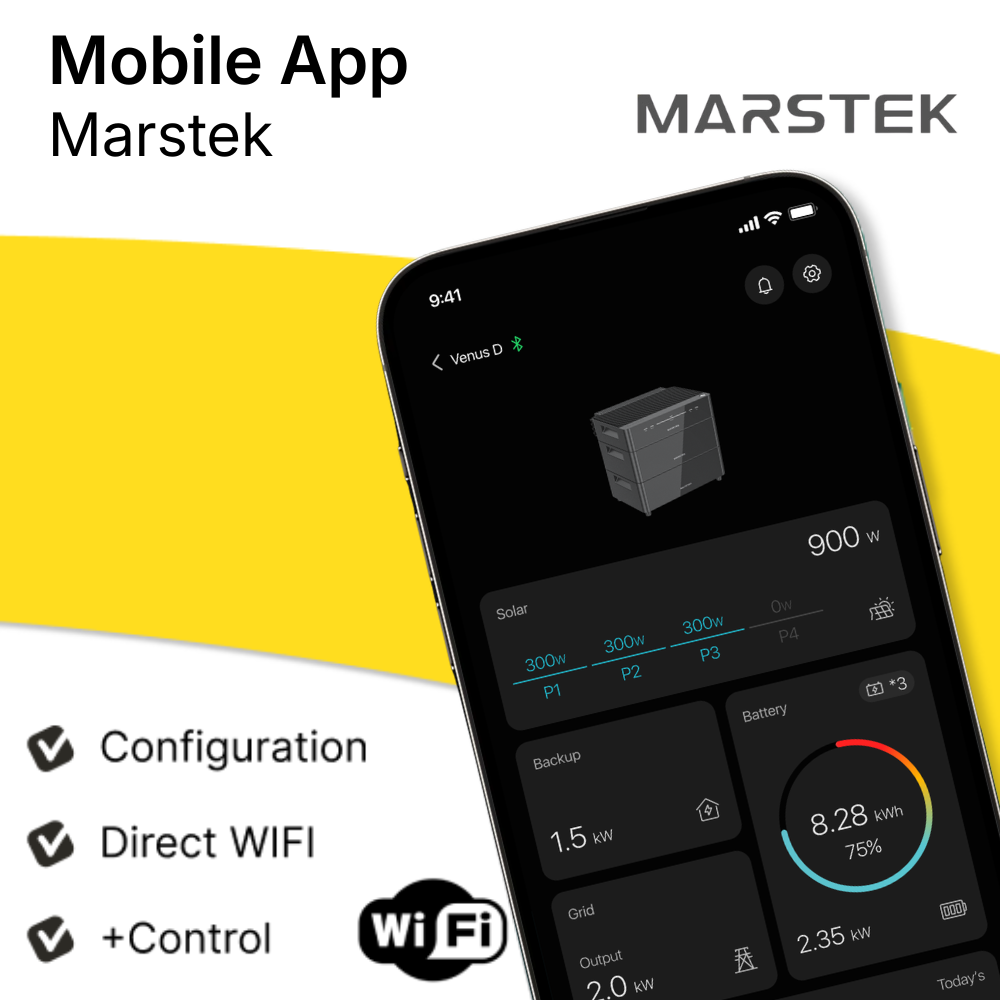
Overview
After the setup above, you will see an overview of your production. The circle on the top displays your current power production. By clicking on the “Plant Info” and “Device List”, you can modify the details for your plant and add or delete micro inverters. You can see the daily, monthly, yearly and total production from your plugin solar kit. You can also see your CO2 reduction and equivalence of trees planted in this section.
Check your current and past production
On the bottom of the screen, you can see 4 buttons. We were working on the Overview tab above. Moving onto the History tab, you can check your daily, monthly, yearly, and total production. By tapping on the orange bars, you can see the precise statistics of your production for the selected time period.
Layout
This tab is used to show the structure of your plant. For example, if you have 2 solar panels and 1 micro inverter, the 2 solar panels will be displayed on the layout interface with a code for recognition. You can see the real-time power of the solar panels and the micro inverter. An alarm will show if there are problems with the micro inverter and solar panels.
- Tap “Edit Layout”.
- Press and hold the modules, drag the modules to the location to plan the layout. If you want to reset the layout, tap the “Reset” then tap “Confirm”.
- Tap “Save”, and the interface should show the operation succeeded.
- Tap and drag the timeline below to show the time and energy generation at that time. The minimum interval is 5 minutes.
Me interface
There are 5 subsections in this tab:
- Password: You can change your password by inputting your current one and the new one twice for confirmation.
- Delete Account: Read the information carefully before tapping on “I agree to delete my account”.
- Language: There are several languages available for you to choose.
- Benefits Calculator: Enter the compensation you get for every kWh from your power company. The app will calculate how much you save by multiplying compensation with your power generation. They will be displayed in terms of day, month and year automatically.
- About: Introduction of Tsun Talent Home. You can find the User Agreement and Privacy Policy at the bottom
Conclusion
With this complete guide, you should be able to exploit the full Tsun Talent Home app and solve some possible problems from the micro inverter. We have some troubleshooting tips in this blog to help you as well. Should you have more questions, don’t hesitate to contact us via WhatsApp or call us directly.

Commenta
Questo sito è protetto da hCaptcha e applica le Norme sulla privacy e i Termini di servizio di hCaptcha.